The crypto revolution is well underway, and creating your own token isn’t just for developers or big corporations anymore. Whether you’re an entrepreneur, artist, or community leader, launching a token can open doors to fundraising, community-building, and innovative digital economies. But how exactly do you go from writing code to holding your own coin? Let’s break down the process into 7 clear, actionable steps.

8. Step 1: Define Your Token’s Purpose
Before diving into coding or blockchain protocols, nail down why you want a token. Is it to raise funds through an ICO? Create a loyalty program? Power a decentralized app? Your token’s purpose will shape everything from its design to its legal framework.
Ask yourself:
- What problem does my token solve?
- Who is the target audience?
- How will it create value?
7. Step 2: Choose the Right Blockchain Platform
Not all blockchains are created equal. Ethereum remains the most popular choice due to its robust ecosystem and support for smart contracts, but alternatives like Binance Smart Chain, Solana, and Polygon offer faster transactions and lower fees.
Consider:
- Network security and decentralization
- Transaction costs (gas fees)
- Developer tools and community support
- Compatibility with wallets and exchanges
6. Step 3: Design Your Tokenomics
Tokenomics is the economic model behind your token — how many will exist, how they’re distributed, and what incentives users have to hold or use them.
Key decisions include:
- Total supply (fixed or inflationary?)
- Distribution method (airdrops, sales, mining rewards?)
- Utility (governance rights, staking rewards, discounts?)
- Vesting schedules for team and investors
Well-thought-out tokenomics can make or break your project’s success.
5. Step 4: Develop Your Smart Contract
This is the coding phase. If you’re using Ethereum or similar chains, you’ll write a smart contract—often in Solidity—that defines your token’s rules and behavior.
Key tips:
- Use widely accepted standards like ERC-20 for fungible tokens or ERC-721/ERC-1155 for NFTs
- Test extensively on testnets (Ropsten, Rinkeby) before mainnet deployment
- Consider security audits to catch vulnerabilities early
If coding isn’t your forte, platforms like TokenMint or third-party developers can help.
4. Step 5: Deploy Your Token to the Blockchain
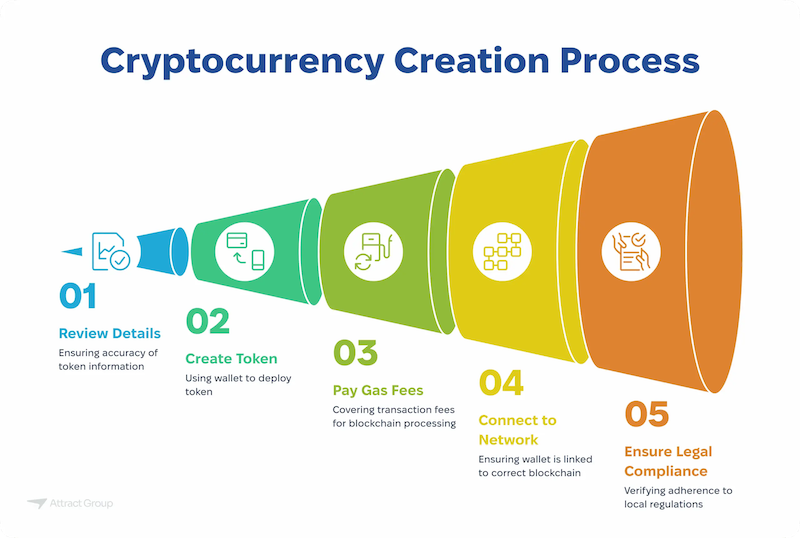
Once your smart contract is ready and tested, it’s time to deploy it on the blockchain. This process involves sending the contract code in a transaction, which requires some native cryptocurrency (ETH, BNB, etc.) to pay for gas fees.
After deployment:
- Verify your contract source code on explorers like Etherscan
- Share your token address with your community for transparency
3. Step 6: Build Your Community and Ecosystem
A token is only as valuable as the community and use cases behind it. Start building early with:
- Social media channels (Twitter, Discord, Telegram)
- Educational content about your token’s use
- Partnerships with other projects or platforms
- Incentives like staking rewards or airdrops to encourage engagement
Strong community support can fuel demand and adoption.
2. Step 7: List Your Token on Exchanges
To unlock liquidity and real-world trading, get your token listed on exchanges. Start with decentralized exchanges (DEXs) like Uniswap or PancakeSwap, where listing can be immediate after adding liquidity.
Later, pursue centralized exchanges (CEXs) which often require a listing application, due diligence, and sometimes fees.
1. Bonus Tips for Success
- Stay compliant: Be aware of regulations in your jurisdiction to avoid legal troubles.
- Maintain transparency: Regular updates and open communication build trust.
- Keep improving: Listen to feedback and iterate on your project.
Launching your own token is an exciting journey that blends technology, economics, and community-building. By following these 7 steps, you’re well on your way from writing code to creating real-world value with your very own coin.


